Hey sweets, welcome to our very first sewing school! Some of you might have seen that last year we made our very first collection of Men's accessories, aptly named 'He Dressed in Black' to get us into the swing of designing and creating. Under the circumstances of having to get the pieces ready for the boys to take to Europe, we ended up doing this in one manic week and didn't get to enjoy the process as much as we'd have liked to. Therefore, ahead of the Women's collection that we have planned for Spring (we've had these ideas in our head for sooo long, we can't wait to get them out there) we've scheduled in a couple of sewing mini projects to get us back in to the swing of it and thought that you might like to join us along the way!
We're starting with this super sweet and super easy DIY... the Flo-jo's Fancy Pants knicker making set! In future, we'll be showing you some of our own DIYs but Rhi got Lauren this kit to for Christmas to start practising with and it was so much fun to put together that we just had to feature it!
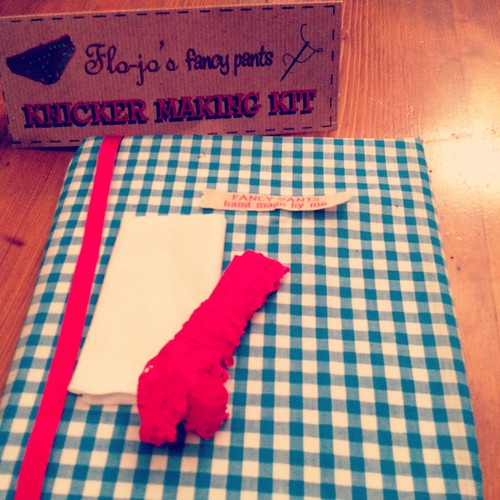
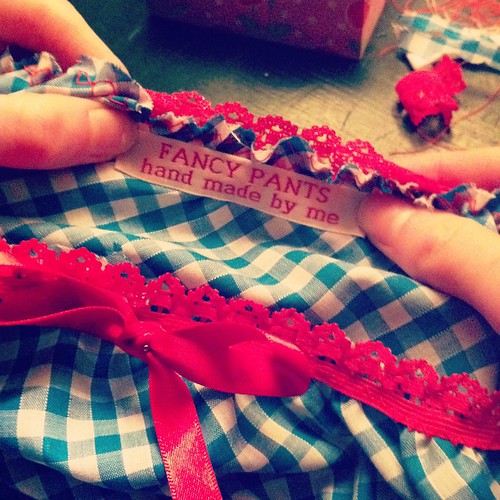
The kit can be purchased from the Flo-Jo Boutique (currently on sale too - hurry up kitty cats!) and contains everything that you need to make your own vintage inspired pants as well as clear diagrams and instructions... perfect for beginners looking to get a bit of practise.
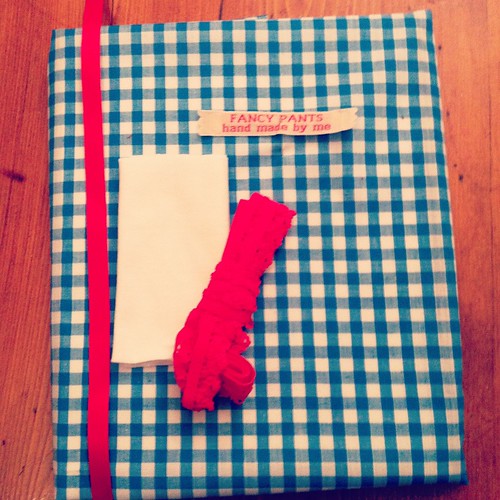
The kit contains:Paper pattern sizes 8-18Cotton MaterialCotton gussetElasticRibbonLabelInstructions with diagrams
All you will need is (as recommended by Flo-Jo's Boutique):Basic Sewing SkillsCotton threadSewing machine (with zig zag stitch)ScissorsA rainy afternoon!
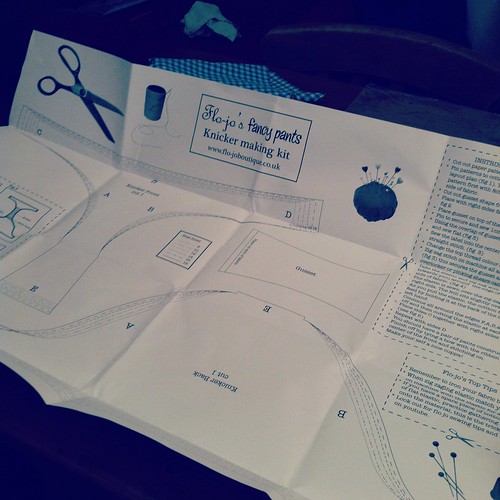
1. Firstly, look at the patterns contained in the kit. There should be one piece for the front (we'll call this A), one for the back (B) and one for the gusset (C). Conveniently, the kit has lines for varying sizes (between UK 8-18) so just chose the size that you're looking to make then cut out the pieces.
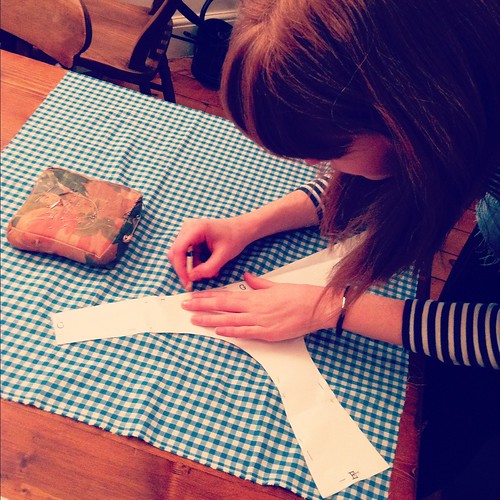
2. Next, place the cut out patterns (A) and (B) on to the cotton fabric, ensuring that both pieces fit on and secure using pins. Next draw round the patterns on to the fabric using chalk or a light pencil.
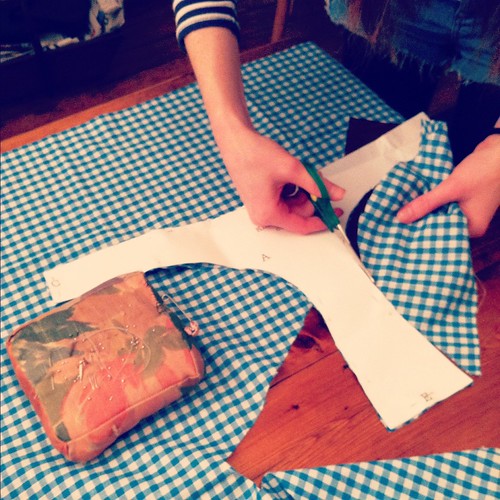
3. Cut them out!
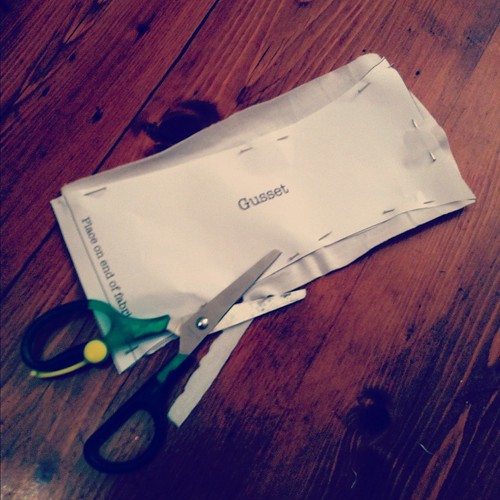
4. As above, cut out the last pattern (C) on to the material provided for the gusset.
Then you're ready to get sewing!
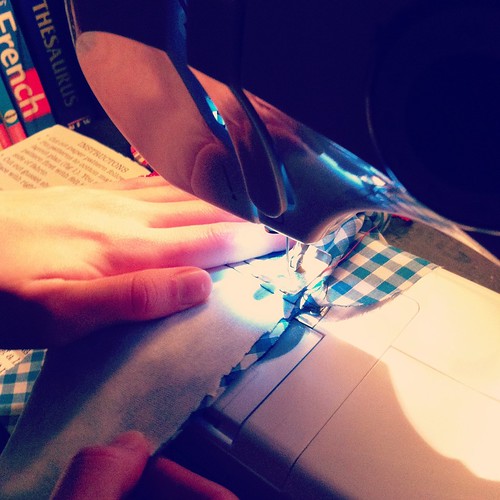
5. You'll be instructed to place & secure then sew in the gusset (C). This will secure parts (A) and (B) together in the middle.
6. Next, we stitched all around the flat knicker shape to secure the gusset and neaten the edge (the diagrams in the kit come in extremely handy for getting your head around this part!)
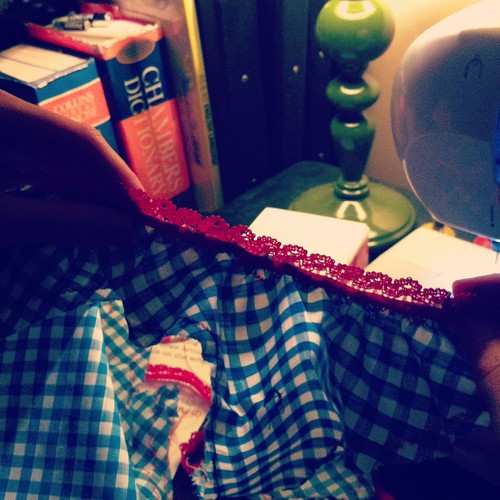
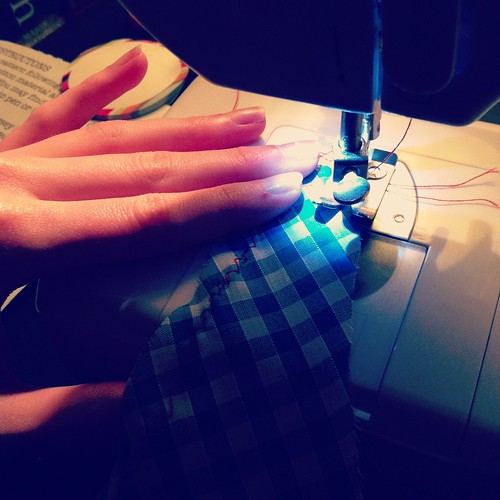
7. After you've done that, it's time to put on the elastic! This is the slightly tricky part! Once again, you follow the edge of the knicker shape laid out flat, keeping the elastic pulled tight (by pulling towards you as the material goes forward in the machine) this ensures that the edge ruches up to give your pants elasticity. 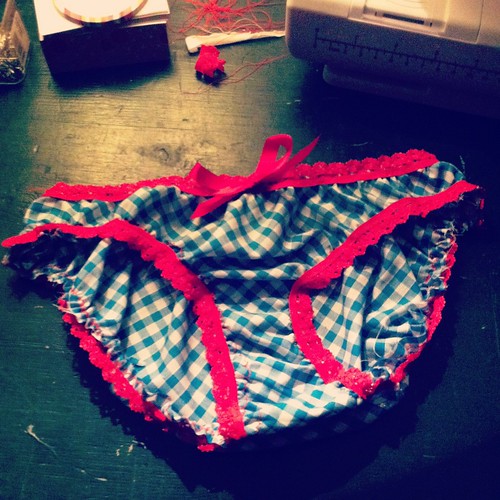
8. Voila! Finish by making a bow with the ribbon provided and stitch on.
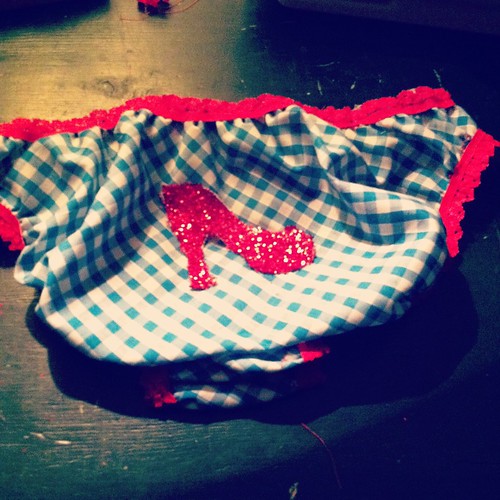
9. As the kit that Rhi had chosen for Lola consisted of blue and white gingham cotton and a splash of ruby red, we embellished the pants with a Dorothy ruby slipper - made from white cotton and glitter glue! Maqnifique!
Yay! We wanna make more... our families and friends might get lots of pants next Christmas! Big thanks to the Flo-Jo boutique for this wonderful idea!
Join us next week in the studio again in two weeks time for our next mini project!
Much love,
L&R xx


6 comments:
Wow it looks so cute! I am definitely going to try this, maybe I can draw a pattern myself if I'm brave enough! Thanks for sharing! :)
fancy indeed! well done Lauren!
cutey pants !!! i look forward to new fancy pants in next years xmas stocking XXX
Adorable! So inspired now! Excuse me, off to go make my own fancy pants now...
such a cool present!!!its really cute!
That looks adorable! so cute!
http://khakipantsformen.com
Post a Comment