Showing posts with label Sewing School. Show all posts

Thursday, 1 March 2012

Sewing School // Love Heart Bunting Chains


Hello Sweets,

Can you believe it's March already? A little DIY today for adding something fresh to your home in time for Spring...

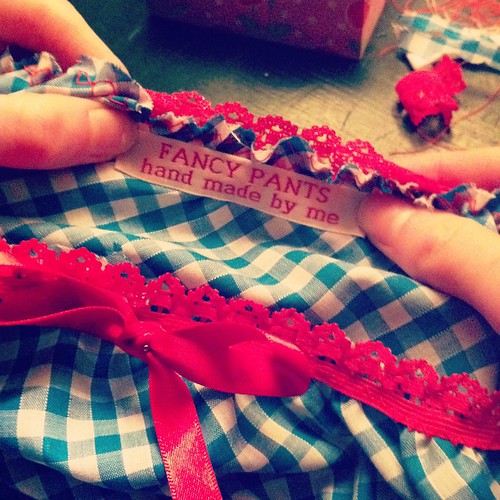
Bunting is a fab way to add a touch of rustic charm to your home & you may have noticed from the
Twee Towers Tour, that we love hanging it around our abode, but it doesn't have to be restricted to the usual flag shape! This week, we've been making love heart bunting chains to decorate small areas that looked like they needed a bit more love. If you're like us and have boxes upon boxes of paper and fabric scraps that you can't seem to throw away, this DIY is absolutely perfect for putting it all to good use!


You will need:


Paper scraps
Cookie Cutters (or anything else you'd like to use as a stencil!)
Sewing Machine and thread
Scissors


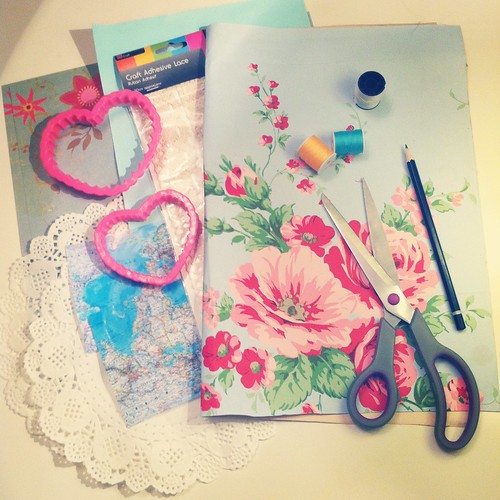
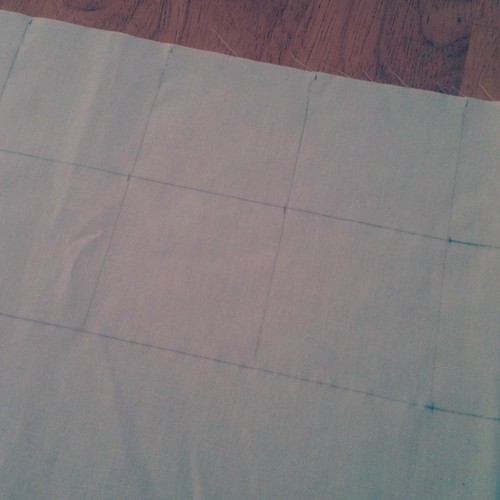
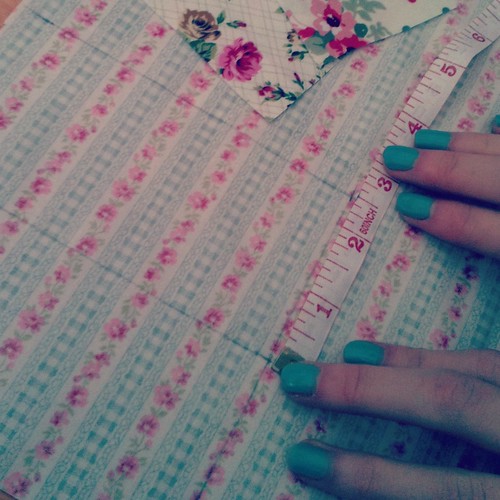
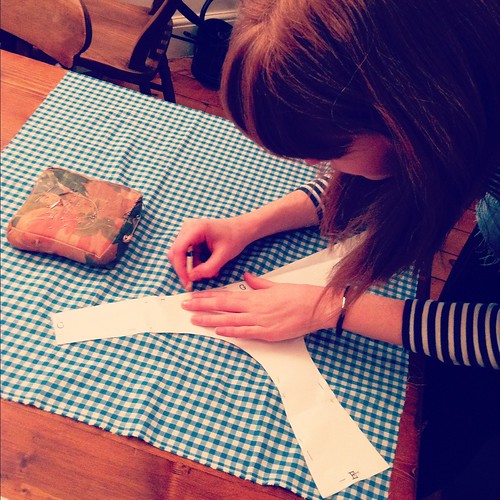
1. First of all choose a selection of papers in your chosen colour scheme and using the cookie cutters, trace around the heart shapes. The quantity will depend on the size of the space that you have to hang the bunting!

We went for card painted in a dusty blue, doilies for a lace effect and an atlas print!


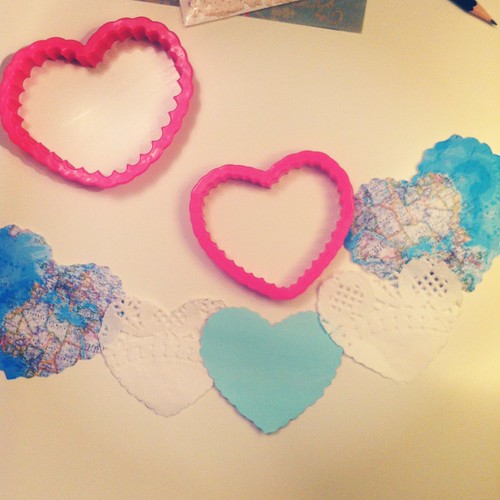
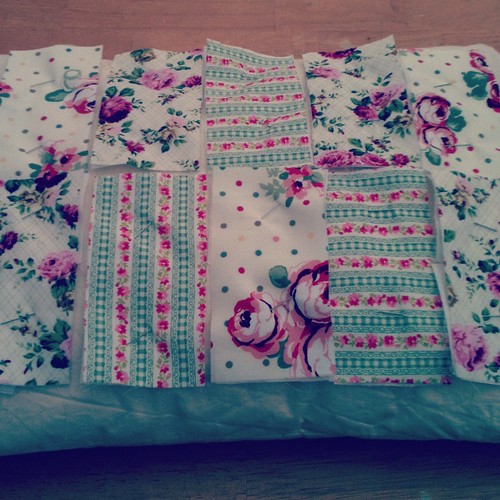
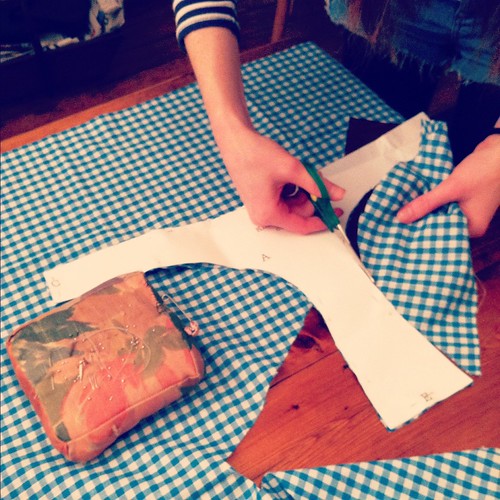
2. Cut out your hearts!


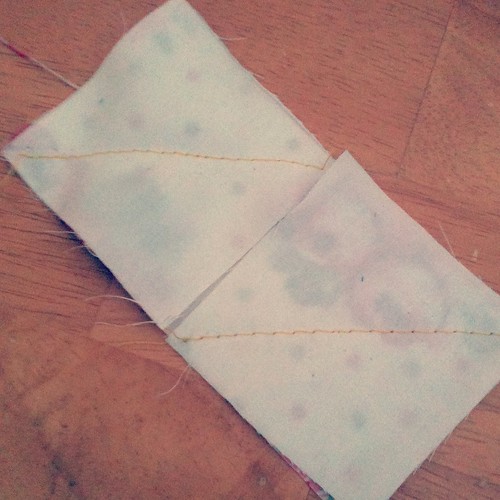
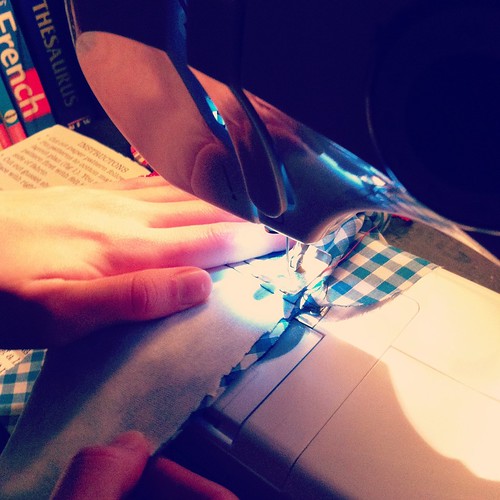
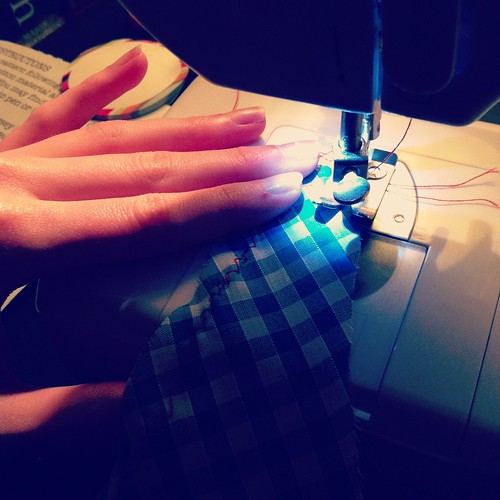
3. Then it's time to get sewing! Line up your first heart in the machine, face down and sew left to right across the top. Between each heart, keep sewing for a couple of cm's before introducing the next heart to create your chain. When you're finished you should have a wonderful chain of heart bunting! (ps. apologies for the rubbish lighting, we're night owls and Twee Towers needs more lamps!)


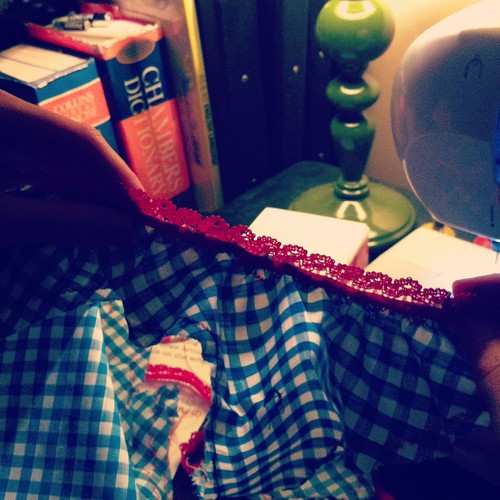
4. You can either pin straight on to the wall or sew a bit of ribbon into a loop on either side of the chain to aid hanging! Pretty!


Much love,
L&R xx

Wednesday, 1 February 2012

January Highlights...

Hey Sweets,

What a lovely start to 2012 January was! Here's our highlights of this months' posts...

1refresh
After wishing you all a
Happy New Year we got stuck into Refreshing & Reviving our studio and She Dressed in Black as a blog...

Choc&Violet
Our Number 1 highlight was without a doubt making our very first silent film recipe for
Chocolate and Violet Cupcakes!

sewing school pants
sewing schoool chevron
We also really enjoyed showing our experiments from the studio and sharing tutorials for
Fancy Pants and Chevron Patchwork Cushion.

ADDP1
ADDP2
ADDP3
ADDP4
Part of our 'Refreshing' was to bring in 'Vinyl Revival' to our After Dinner Dance Parties
Part 1 // Part 2 // Part 3 // Part 4

Litlove1
Litlove2
Literature Love -
Limehouse Blues and 1969 Playboy

boutiquelove1
boutiquelove2
boutiquelove3
We did a mini shoot to show off our favourite brands from our wardrobes. Rhi picked
Jovonna London and Lola showed off her Alice Takes a Trip collection. Plus some behind the scenes snaps...

100giveaway
We reached
100 followers! YAY! So we gave a few somethings away to our followers :)

ifyoucould
Lola showed some of her
adorable illustrations in response to the question "If you could do anything tomorrow, what would you do?"

geekytea
Rhi unleashed her inner
geek...

cocktails
We celebrated Twee Tower's regular
Colour Wizard Chris' 24th Birthday with cocktails and northern soul...

tweeart
We shared some more art from around Twee Towers by
Rob Ryan

SNB
We announced the launch of
Stitch n' Bitch

tweetroubles
We had some blustery
Twee Troubles

fridayflick
And another new feature - Friday Flicks, kicking off with
An Affair to Remember, followed by Band A Part

Busy, busy, busy! February is going to be even more hectic here in the Twee Studio so we shall be bringing you some fabulous guest posts - can't wait to let our friends loose on the blog again, hope you'll enjoy them :)

Much love,
R&L xx

Wednesday, 25 January 2012

Sewing School // Chevron Scrap Cushion


Hey sweets,

This weeks Sewing School we've been dabbling in a little bit of patchwork! Had no idea it would be so much fun, we may become quilting addicts, seriously enjoyable and the results are just soo cute! So here it is, step-by-step, our chevron scrap cushion!


You will need:

Several different patterned fabrics cut into 10 - 2.5"x5" rectangles
Plain cotton 20 cut into - 2.5" squares
Plus plain cotton amount dependent on your cushion size.

sewing basics - measuring tape, pins, scissors, thread, machine (though could easily be hand-sewn if you have the patience!)


Step 1: Mark out your squares. There is probably a more sophisticated way of doing this, but we're just teaching ourselves as we go along... Once marked up, cut your squares and rectangles out...


Step 2: Lay your fabrics out in the order you want them so that you know the order & direction of your stiches (the significance of this will make sense in a moment)...


Step 3: Pin 2 squares to the front of your patterned rectangles. Repeat for all rectangles.


Step 4: Start sewing from corner to corner, in the same direction on each square (see pictures below)


See below - we used a yellow thread so that you can see the stitches. **Remember to alternate the direction of stitches to create the zig-zag effect.**

picnikfile_X89NRQ

Step 5: Cut the corners of the pieces off just above the stitches.


Step 6: Open out the rectangle and press the seams flat like this:


Step 7: Layout in your order again, ready to start piecing your patches together?


Step 8: Place the pieces face to face and stich straight along the edge (as close as you can!)


Keep going until you've attached your entire row like below and press the seams (pressing addicts, like things to look neat as we go along!)


Step 9: Repeat with the second row, then fix the top and bottom (again by sewing along the edge, face to face, don't forget to press after!)


Step 10: Cut 2 strips of plain cotton the length of your panel (ours were 2.5" wide to fit on our cushion) - sew to the top and bottom.


Step 11: Repeat with cotton for the sides, cut to the height of your panel (again adjusting the width according to your cushion size.) and press (of course!)... So here is the panel, ours isn't perfect, but it sure is pretty!


Rather stupidly (blame our enthusiasm, we were so excited at how lovely it was looking we couldn't wait to finish!) we forgot to photograph the next steps so bare with us while we attempt to explain how to turn it into a simple envelope cushion.

Cut 2 panels for the back, to the size of your cushion panel and so that they will overlap, with a little extra for seam allowance. Hem the edges that will form the overlap. then pin to the panel, face to face and sew all round the edges, flip inside out - et Voilá - One super cute patchwork cushion!

Hope you enjoy, it's really easy once you get into the swing of it, we've definitely caught the quilting bug, may have to set aside some time away from the collection to work on more patchwork projects!

Much love,
R&L
xx

Wednesday, 11 January 2012

Sewing School // Flo-jo's Fancy Pants


Hey sweets, welcome to our very first sewing school! Some of you might have seen that last year we made our very first collection of Men's accessories, aptly named 'He Dressed in Black' to get us into the swing of designing and creating. Under the circumstances of having to get the pieces ready for the boys to take to Europe, we ended up doing this in one manic week and didn't get to enjoy the process as much as we'd have liked to. Therefore, ahead of the Women's collection that we have planned for Spring (we've had these ideas in our head for sooo long, we can't wait to get them out there) we've scheduled in a couple of sewing mini projects to get us back in to the swing of it and thought that you might like to join us along the way!

We're starting with this super sweet and super easy DIY... the Flo-jo's Fancy Pants knicker making set! In future, we'll be showing you some of our own DIYs but Rhi got Lauren this kit to for Christmas to start practising with and it was so much fun to put together that we just had to feature it!

The kit can be purchased from the Flo-Jo Boutique (currently on sale too - hurry up kitty cats!) and contains everything that you need to make your own vintage inspired pants as well as clear diagrams and instructions... perfect for beginners looking to get a bit of practise.


The kit contains:
Paper pattern sizes 8-18
Cotton Material
Cotton gusset
Elastic
Ribbon
Label
Instructions with diagrams

All you will need is (as recommended by Flo-Jo's Boutique):
Basic Sewing Skills
Cotton thread
Sewing machine (with zig zag stitch)
Scissors
A rainy afternoon!


1. Firstly, look at the patterns contained in the kit. There should be one piece for the front (we'll call this A), one for the back (B) and one for the gusset (C). Conveniently, the kit has lines for varying sizes (between UK 8-18) so just chose the size that you're looking to make then cut out the pieces.

2. Next, place the cut out patterns (A) and (B) on to the cotton fabric, ensuring that both pieces fit on and secure using pins. Next draw round the patterns on to the fabric using chalk or a light pencil.


3. Cut them out!


4. As above, cut out the last pattern (C) on to the material provided for the gusset.

Then you're ready to get sewing!


5. You'll be instructed to place & secure then sew in the gusset (C). This will secure parts (A) and (B) together in the middle.


6. Next, we stitched all around the flat knicker shape to secure the gusset and neaten the edge (the diagrams in the kit come in extremely handy for getting your head around this part!)


7. After you've done that, it's time to put on the elastic! This is the slightly tricky part! Once again, you follow the edge of the knicker shape laid out flat, keeping the elastic pulled tight (by pulling towards you as the material goes forward in the machine) this ensures that the edge ruches up to give your pants elasticity.


8. Voila! Finish by making a bow with the ribbon provided and stitch on.


9. As the kit that Rhi had chosen for Lola consisted of blue and white gingham cotton and a splash of ruby red, we embellished the pants with a Dorothy ruby slipper - made from white cotton and glitter glue! Maqnifique!


Yay! We wanna make more... our families and friends might get lots of pants next Christmas! Big thanks to the Flo-Jo boutique for this wonderful idea!

Join us next week in the studio again in two weeks time for our next mini project!

Much love,
L&R xx
Related Posts Plugin for WordPress, Blogger...